Pageviews last month

Sunday, 11 March 2012

Clearing out and investigation part 2

Moved onto the other room and did the same, locating old electrics and stripping them out completely as they were cut off months ago during the removal of the connecting wall.

 I simply grab the hand held metal detector and start searching for the strongest signal, and mark it out.
Round circles are connection boxes 9 out of 10 times, but this time it was wrong!


All uncovered

2 boxes found in this state, I can't believe this is still "safe". 

 And what in earth is this, a 1cm thick metal peg in the wall... bit of overkill if you ask me to hold a conduit in the wall!
Then moving onto the light for removal.. I undo the screw and I'm completely shocked.. 


Lots of mouse droppings..

 And this.. a mouse nest.. talk about fire hazard!!

Nest removed and wires bent down.. simply twisted together aluminium with some sticky tape over the ends..

Health and safety clearly didn't exist in the 50's!

Clearing out and investigation.

Finally managed to clear out the remainder of stuff in the two front rooms. The bed was dismantled and placed in the loft along with paintings and some other smaller furniture. The big cupboard has been relocated to the garage, another big cupboard to the workshop/storage area.

The garage underwent a large clean up in order for the new cupboard to fit in.

Another old bed and wonky table is destined for garbage.

And we uncovered another pile of old carpets under the bed, I think granny has enough carpets to re carpet her whole house about 3 times over.. naturally all these carpets had to be stored in the garage..

Anyhow, uncovered all the electrical spaghetti in the front left room to make sure I wouldn't electrocute myself by mistake in future. 


Water pump supply


As some as you might remember, A plan was made to rewire the existing water pump and also run water from the basement to the new boiler platform above the new bathroom. This ran underneath granny's room floor underneath the insulation and concrete slab to the basement.


So, here's the new electrical box (IP44) on the wall mounted in the basement, with its cable feeding through underneath granny's room floor. The big grey pipe will be  cut to size and house a water pipe leading to the boiler platform.

 Here you can see the existing pump wiring "hanging" or doing whatever it does... its shocking really, I think its 0.75mm wire as well.(and its un-earthed)

A view of the basement... full of rubbish, lots of bodge jobs such as using a gas valve on speedfit for water (Yellow handle) and extension cables on extension cables, electrical tape etc.. And the remains of the old boiler set-up.


And here the pipe appears underneath the wall outside grannies room, I cut a new groove in the wall for ducting and now the cable goes straight up to the loft so it can be connected into the new fusebox at some point.

Hallway update.

Maria's father helped to smooth out the walls some more as it became awfully patchy with various depths of render on the wall.

Impatient Granny decided to "help".
She went crazy and started painting everything such as light switches and the brand new light holder (Inclusive of its bulb).

She also decided to "help" remove some of the spillage of render off the new door frame with what I can only presume was a cheese grate of some sorts and scratched all the paint off it so it requires repainted (again)

Anyhow, the floor is going to have to wait till the other rooms are done as the floor heating requires continuous pipework and I don't want it dangling in the way for the next 3-4 months.

Anyhow, it now looks like this. I need to finish the electrics off at some point but I'm still waiting on components to arrive, as well as sussing out what still needs to be re-connected in granny's side (Which is proving a pain as its going to involve a lot of extra work I hadn't counted on!)


Friday, 10 February 2012

Operation Door Part Deux & Project Hallway.

Not done any updates for a while now.


 Finished fixing the doorframe in place and started with the construction of the top of the wall.

 Wall built up, a gap has been left for the fusebox, I have drilled holes through the brick (So you can't see it on the surface) to the void between the loft and the ceiling for the wiring to come down.
Temporary door in place (and granny gone nuts with polystyrene) to keep the heat in.


Ok, The next day was a LONG day.. granny made me finish it all in one go, and wouldn't let me go home :(

 Knocked all the render off the ceiling, most likely got shouted at for leaving the door open at some point.. !
Ceiling planks all down, main supporting beams exposed and the loft (Very dusty as you can see in the picture)


Next, slight problem.. marked out the position of where the new ceiling height will be, so all the cables for the wiring can run there, and to make some more space for insulation.
The old three phase cabling runs in this wall, RIGHT at that height somewhere, so I had to investigate very carefully with a screwdriver scraping the render off till the conduit was exposed to make sure I wouldn't drill into it when securing the new ceiling brackets.

 Picture of one of the three culprits running side by side, 380V..
At least I knew where it was, so i wouldn't stand the risk hitting it by accident.
Brackets all bolted down into the wall, had to move some of them around a bit as the plugs didn't have anything to grip (Voids between bricks..), metal runners all secured in and level.

That was the last pic that day, finished at around 10PM at night after laying the insulation on top of the plasterboard from above. (which was all done in the same day)

 Plasterboard all secured
 Other end.
 Ripped off the remainder of the panelling, and much to my disappointment half of the rendering decided to come with it around the doors so I had to patch it back up layer by layer.

 Keyed the surface everywhere and continued building up the edges around the door bit by bit
Secured a wooden batton to the wooden lintel above the door and fixed some plasterboard there since there was a huge void above the door.
Recessed 4 electrical boxes and three pipes into the wall, it's complicated but it will be necessary.

1x single light switch top right for Outside light Automatic/Off (PIR sensor)
1x blank for underfloor heating thermostat top left.
1x blank for alarm panel in the middle.
1x double light switch bottom for left side hall light, right side outside light On/Off to override automatic

 More keyed surface under grannies bedrooms window in the hall.

Edges built up more and the keyed surface filled in with core render.

 Surface plaster on all the walls all buffed up, the paint still on the wall ran out when wet so mixed with the plaster, hence the red tint.
 The four electrical boxes are there somewhere :)


And viewing the new wall with the fuse box recess.

Tuesday, 24 January 2012

Operation Door.

It's been a while, rounding up the end of the semester and now exams etc.

Finally got round to starting on isolating Grannies side, so she is separated from all the dust and mess! (and hopefully she'll stop complaining she's cold.)

 Knocked all the render off in an attempt to see how much space there would be, and where the ceiling boards end.


Knocked a hole through the supposedly concrete floor, which was 5mm thick in some places, and 5cm thick in other, all just rested on soil. Enormous stench of damp when digging it out.
Dug down to about 40 or 50cm and cleaned up next to the existing foundation (You can see it on the left)

Made some shuttering and poored a big lump of concrete between the two foundations, to give the new door something to rest on.

Waited for that to dry for a bit, then layed some Bitumen stuff as a damp proof courseand build up the base the door will sit on, and left that to dry.

Knocked a hole in the wall for the lintel to sit in after measuring it out.
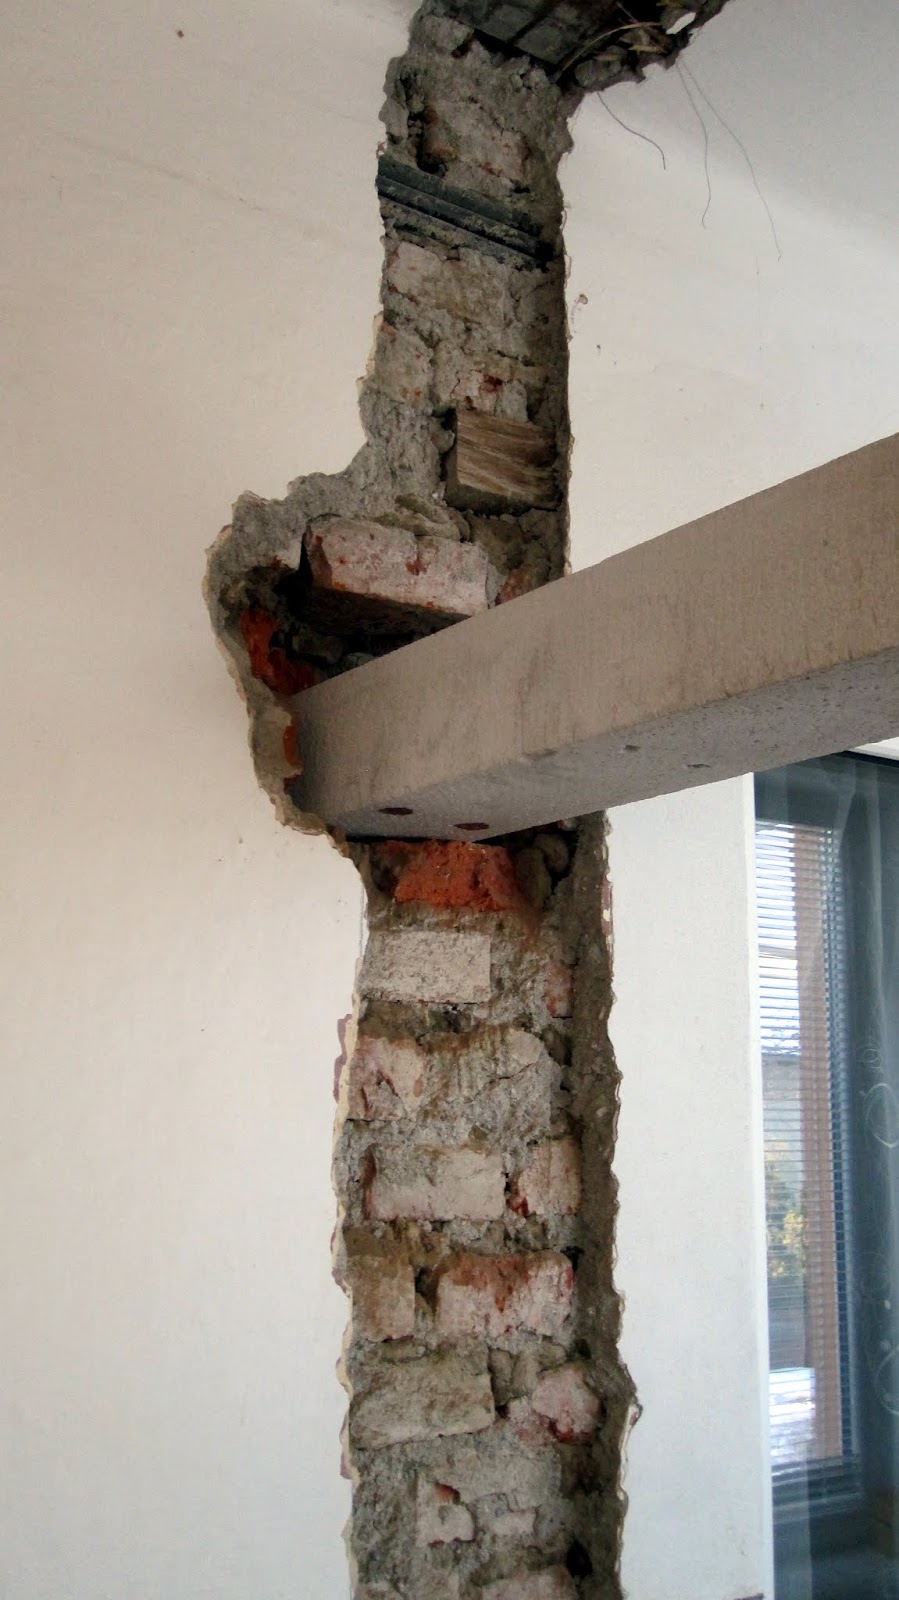
 This is the right side of the lintel, not much supporting it but this supports the roof of the "lounge".. its about 20cm of random stuff (Roof tiles, bits of brick, mortar) glued to 1 single course of brick.. I was told it was shuttered concrete, which is most definitely is not.


Other end of lintel sitting neatly inside the wall.

Same day, building up one side of bricks, all pre-cut to size with protrusions going inside the door frame so its "wedged" in place.

Too cold to do much, glue didn't set properly.. bit of a nightmare, gave up pretty fast.

 And end of today, both sides built up, mixed the glue with hot water, got a little heater to heat up the wall i was working on. Because the walls were so uneven I had to modify a lot of the little blocks and fill up huge gaps. Anyhow, some mortar and 1 hour later Its all pointed up and all the gaps are closed.

Poored very liquid concrete between the edge of the frame and the blocks that slide inside the edge to hold it all together and "fix" it in place.

Same view, other side. Still need to point the top left but I need to take some more render off the wall first but that will create dust so granny wouldn't be happy (it was getting late).

Need to cut blocks to go ontop of the frame, between the lintel and the frame, and seat the lintel itself.

Then I need to get a new consumer unit for grannies side of the house and recess it into the blockwork which will go above the door, and create channels for the wiring to run through to the consumer unit.

Then eventually, a door might end up in there!

ceiling is next on the "to do" list for the hallway, and then eventually some time the floor, but we still need to go talk to a possible supplier for underfloor heating for system boards or staples and general supplies.

Sunday, 4 December 2011

Room 1, done.

Ok, few pictures to share.

Extended the kitchen floor right up through the new door, was a bit of a nightmare as none of the walls were straight, but managed in the end.

 Laminate floor went in, we chose compressed fibreboard for underlay as it breathes, unlike the plastic insulation materials you can get, it also conducts less noise than ordinary plastic insulation.
 expansion gaps between boards.
 Half of the floor in..
 Floor in.
 Sticking in the skirting boards.
 Where the kitchen floor and the room floor meet, its a strip with rubbery glue on it, and 4 screws into the concrete below.
 And furniture moved in.
 One wall with large cupboard setup, in front of the new wall.
We had to go out and buy a new TV as the old one wouldn't fit, it was too deep and there was no space to plug anything in behind. 
 And the curtains up too looking out the window.

That's all for now.