Pageviews last month

Friday 31 August 2012

progress..

Commence picture dump..

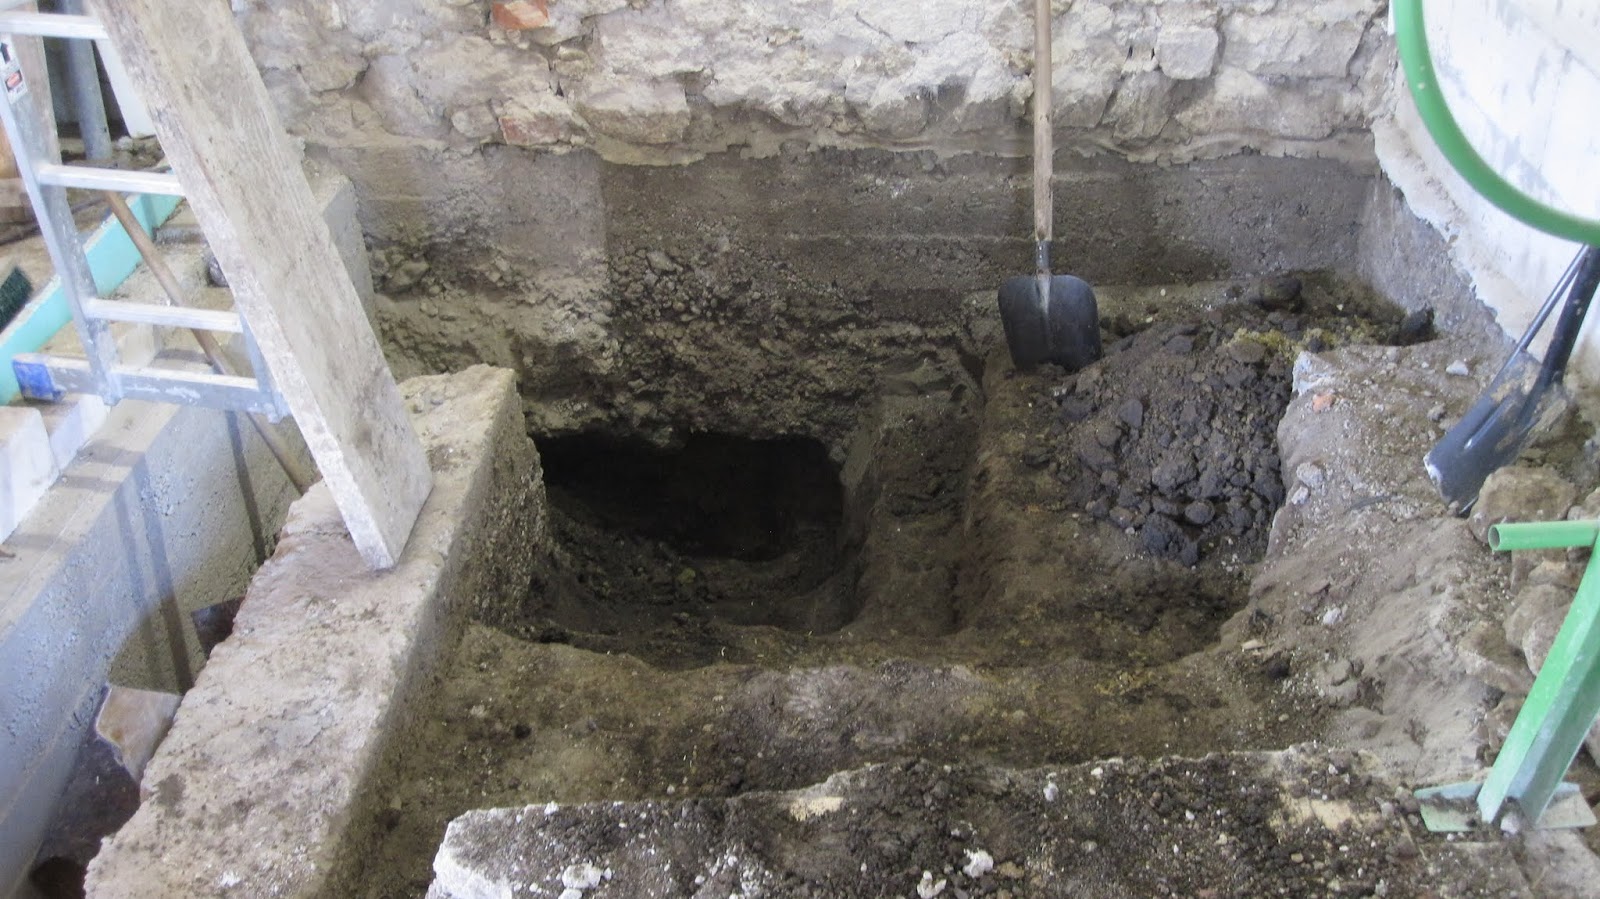
 Removed top layer of concrete to un-earth this..

2 old foundations and a huge lump of concrete where an old doorway used to be, must have been used for elephants or something.. And also the old concrete apron infront of the door..

 Removed all the soil from the walk-way..(hammer for scale)

 The big bugger of a lump of concrete.. solid lump..

Tried my best to remove it with a sledge hammer and steel pins but 20 minutes of hammering resulted in a little tiny piece that broke off.. so gave up

 Aaron cooling down..

 Went out and rented a big 14kg breaker... and after 2-3 hours this was the result... it was inredibly tough to smash up even with the machine, and it was full of more rocks..

 Different view.. about 5-6 hours work..


 Cut out the path for water/electrity etc towards water pit and garage.

 and a branch towards the stand pipe, will hopefully add a drain to the main sewer as well as this is far from ideal having puddles at the bottom of the standpipe continuously..
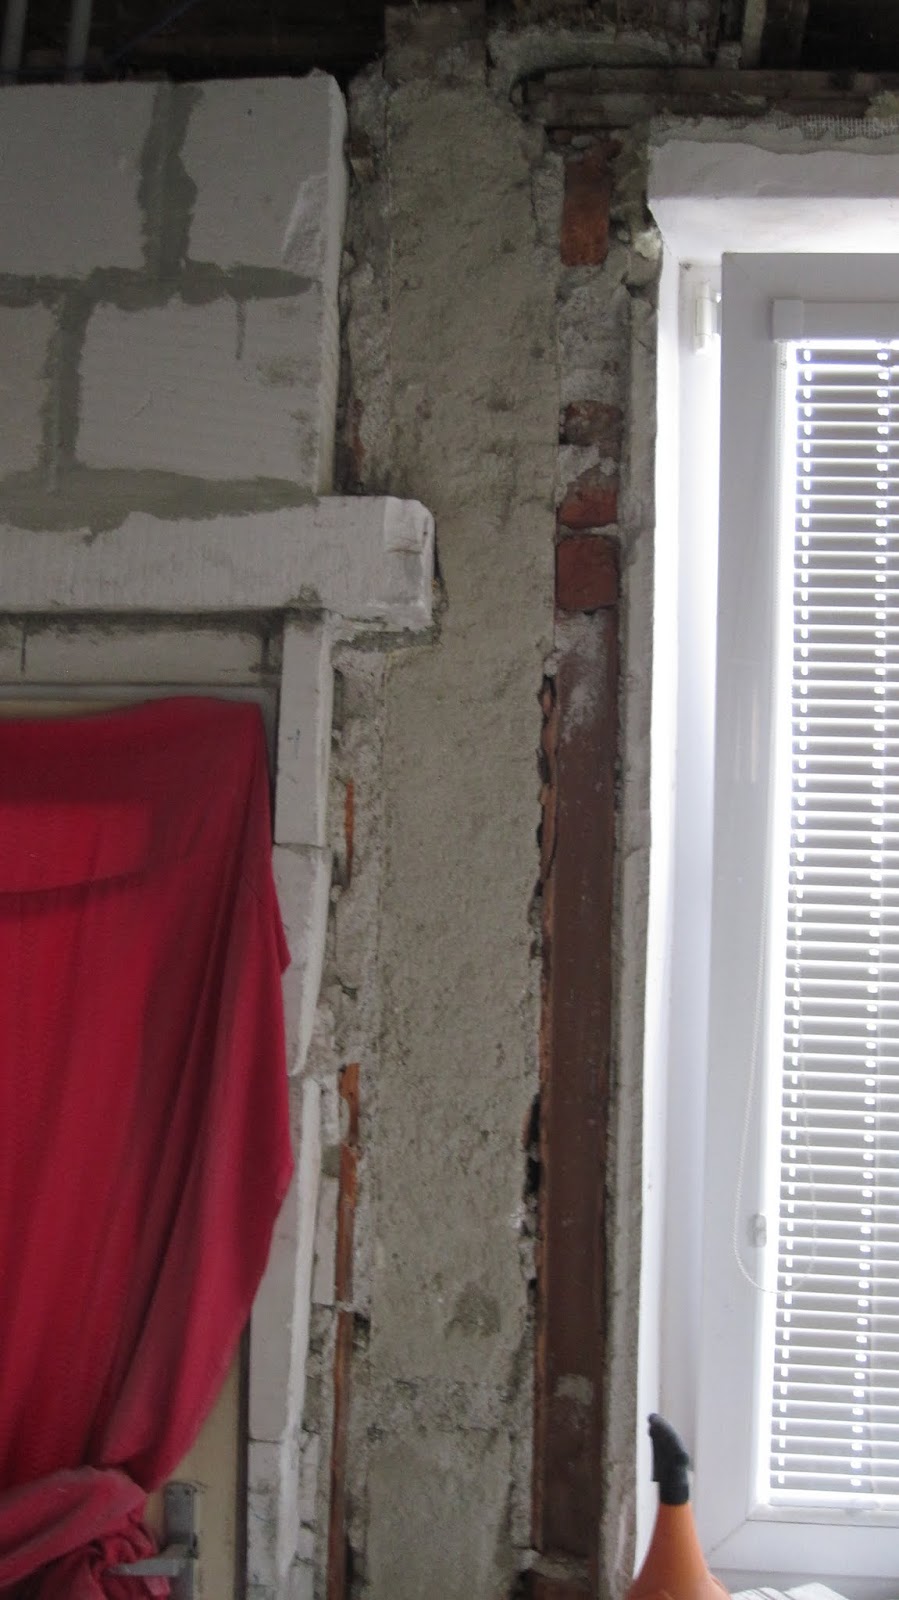
 another cut next to grannies side.. the foundation will be insulated soon.. and we dont want to cut each insulation pannel to size.

 different view..
 and our side..
 grannies side ..
 Different view of same.. some parts were prefab pannels and extremely tough, and also elephant proof door steps seem to have been applied here , hammered out to enough depth to fit the insulation.
 front side of the house all broken up..
 lovely reinforced pannel which took absolute ages to chip away at with the machine..

 dug a trench inside for water/electric etc..
different view...


Meanwhile material arrived... 3x 150mm ytong + 1x ytong floor blocks and 4 beams ontop 
 and the 4th 150mm ytong pallet which wouldn't fit as the tractor needs to get into the garden.. but it will be gone soon enough :)
 10 polystyrene glue thingies..
 and 56 (full pallet) of cement x 25kg... im feeling a bit stronger now!

Next day approx 9 tonne aggregate for concrete arrived..
 made some shuttering for the kitchen/bathroom wall foundation..
 dug out some deeper sections in the ground, one for the door frame pillar as it will be quite small, and 2 more for where the pipes will go under to spread the load a bit more.

after those holes were filled and approx 20cm was above it I placed reinforcement in there as well to tie it all together to stop it cracking hopefully!

 All poured.. aaron decided to walk on it just as I was about to go home so I had to do some emergency repairs!
 cleaned out all the broken bits and chiselled it down to where it needs to be...
 Same here, also cut the reinforcing away which was a nightmare of a job...

These panels were also reinforced, and had to have the metal removed..
 Foundation casing removed so it can dry out..

 Added a small ytong tunnel thing for the fireplace cold air intake so we can concrete right up against it tomorrow..

 Added reinforcing..

 Tied it all together and propped it up with little bits of ytong, and placed 100mm blocks every 70cm or so for the flat beams to rest on tomorrow to level it all out..

 And the pallet walkway! to get over foundations and door steps and a hole in the ground!

Ready to go for tomorrow... :)

Monday 20 August 2012

Another week goes by..

A new material order has been placed, but will take 2 weeks due to them needing to special order in some of the boiler platform materials, so I best make good use of that time (And I have)

Commence picture dump:


The controversy wall... Like anything I have wanted to do during this renovation, taking down stuff which isn't required seems to be a bit of a touchy subject as it involves "extra" work and what seems like an endless passion for wrecking things which appear to be perfectly good and just need a lick of paint..


Upon investigating I convinced myself that the "wall" was an additional skin.. which wasn't resting on the foundation, but instead was laid ontop of a floor, ontop of the old floor tiles?!

 The old render also extended backwards into where the wall is/was... again proving the point its not original..
 And to top it off, the ceiling render extends to within the wall.. (Impossible if it was an original wall)

 A picture before...
 And after...
 Notice how theres 20-25cm of "brickwork" that has vanished, didn't provide any structural support and was just taking up space in the room? To glue my new ytong against this would mean there would be 30-35cm of material in the room extra, not doing much..

This is looking back against one of the original pillars of the porch, which consists of brick, a 1.5m concrete round pillar and some random concrete..

And another shuttered concrete pillar, re-exposed and all the bricks chopped off to make a fairly flush surface..

 The other wall, also removed an additional skin of bricks which appeared to just be "hanging" there, made out of firebrick so absolutely freezing in the winter...

Another 20-30cm gained..
 levelled off the last pillar next to the dividing door going into grannies side..

 Started smashing up the floor to see what was there.. 2-5cm concrete with soil under it in some places, and broken rubble in other places followed by yet another concrete slab of unknown thickness below it (the old concrete apron infront of the old porch... before it was extended) and also the old concrete founds of the old porch... so quite busy down there..


 Smashed up the old storage room's concrete floor.. where the new bathroom will be..
 Took down the remainder of the render on the wall to get a clearer picture of what's going on and needs to be done...
 all the loose rubbish removed from 1st floor in "lounge"

 Rest of render removed in "lounge" with 3 phase still in existence at the top to be swapped out at some point, but it still feeds grannies side so I can't touch it until her kitchen is rewired...


 Dug a hole downwards to the foundation to find the inspection chamber for the sewage on the other side.. 

 Found it! There's the capped off junction that was put in last month on the other side of the wall, bedded neatly in sand.. :)
 Had to smash the foundation out of the way to get access in the bottom of the hole to dig under it as its very hard ground.. Smashing it was suprisingly easy..
 second concrete plinth removed and all the rubbish soil under it also removed..
 A nice lump of concrete which was the old foundation for the chimney.. also needed to come out..

 All the soil removed down to a level which should be good to run pipes in and concrete over the top of.
 And the foundations smashed up down to an acceptable level, all the large chunks either thrown outside onto the heap or pulverised with the sledge hammer to be used as hardcore infill later.

 Different view...
And a picture of the vanished foundation

Now onwards we go with tearing up the "lounge" before concentrating on burying services below it all and concreting over it again..