Picture dump again, been a while.
Finished off last of sewage work and levelled garden after subsidence of ground settling.
Anyhow, pictures!
First of all, what happens when you have a small dog nearby when you are working, I was trying to make a house for him to live in out of the rain outside... put them down on the ground after cutting all the wood to size and never missed them again the rest of the day, they were discovered the next morning in the garden...
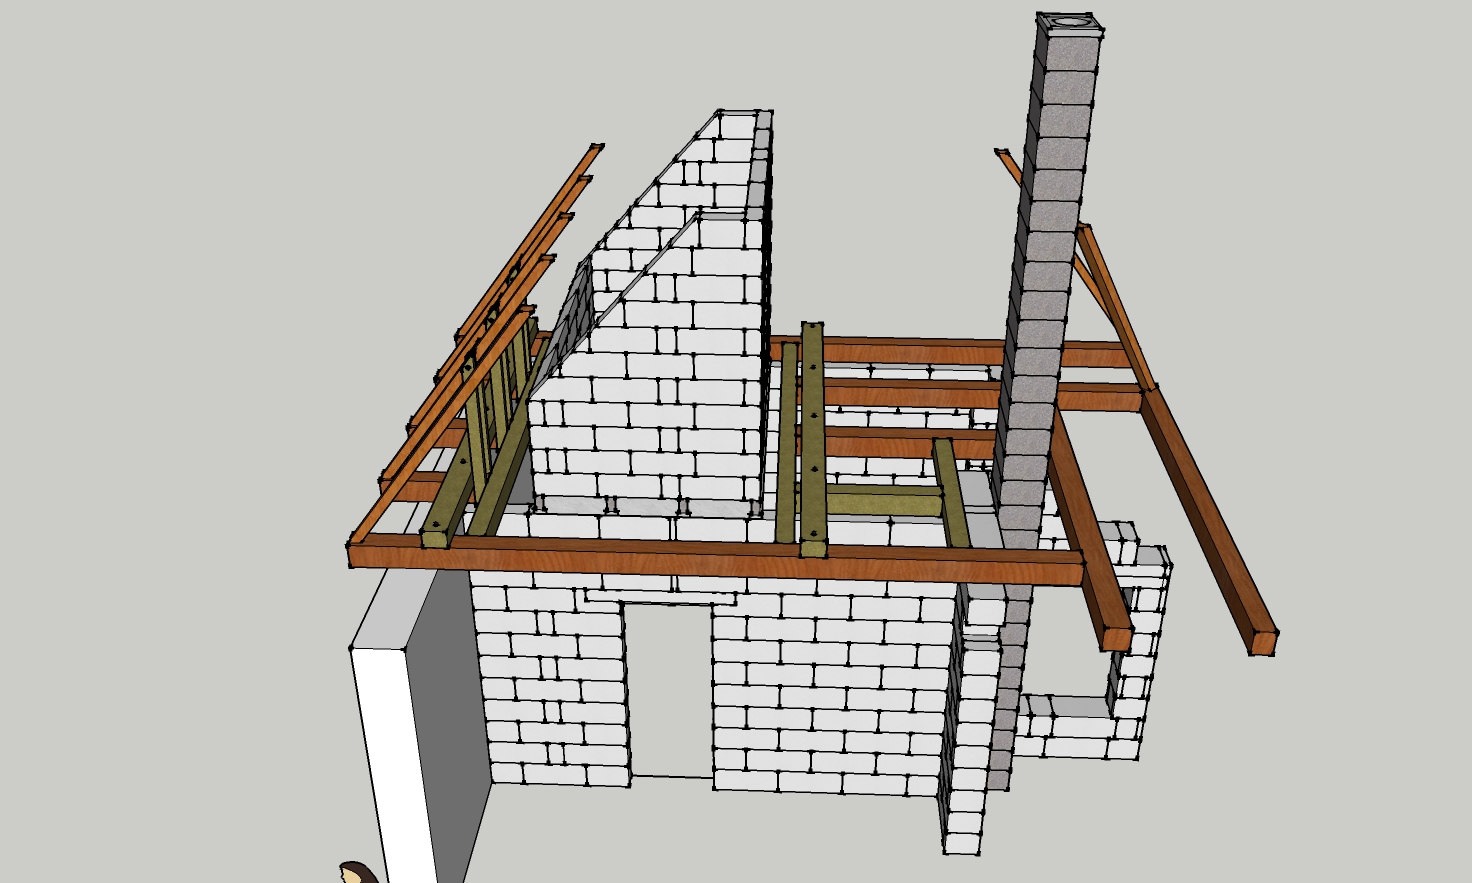
And the little house under construction, just waiting for old electricity to be disconnected so doing odd jobs until I could continue.
Finally the old electricity cable had been disconnected from the mains a few days later, and it was removed.
A nice look inside the master fuse box, this is the first fuse box from the overhead power lines, there is nothing in the form of protection between here and the main transformer at the start of the street.
Notice the corroded (burnt) screws at the top and the charred insulation as well as bared wires.
Cables removed, and another dead mouse becomes apparent. When removing the box I discovered a large void in the wall behind the box full of lots of comfy bits of fabric and grass and straw, obviously a nice warm place in the winter for mice!
And the wall before...
And after.. revealing the corner stones.
After some measuring (if you zoom in you can see the laser line) I determined how much needed to be removed from the corner stones in order for the reinforcing to fit into the pillar to support the lintel.
A little heap of stones :)
When taking down the wall I looked up at this roof beam and noticed a rather large crack opening from the bottom upwards... prodded it with a metal object and its quite rotten.. needless to say the Acro prop got removed fairly swiftly and re-located to the other side of the cross beam so there was no force pushing the end of the beam upwards, opening the crack, instead its back to where there is force pushing down on the end, and the gap closed up again.
Foundation cleared up and old concrete floor partly removed on left.
Corner stones stitch drilled and knocked to bits so the rebar cage would fit in place.
And the first course laid on a mortar bed and DPC.
The heap outside (This is from when I started to remove the ceilings a few months ago up to now)
The wall starting to take shape, slow process as all pieces need cut to size individually. The recess will be a integral bookshelf.
A bit of a design flaw here, I cant remove the corner stones without taking the wall down or risking its integrity. Neither can I move the new wall over as the foundation isn't wide enough.. so I guess it will either stay with the stone showing as a feature in the room, or it will be boxed in at a later stage.
The heap (most of it) miracuously vanished whilst I was working away..
And the level I have stopped at so I have space to move the lintel ontop later without getting my fingers caught.
Formed some squares for the rebar cage, some better than others...
Looking down at the wall side, you can see the corner stones protruding, and how the blockwork has been cut right back into the existing wall, this will all be filled with a rebar cage and lots of concrete.
And the other post..
The cages made up.. In they went and concrete now has to set.
Cleaned up the rest of the floor and removed all the stone.
The heap starts growing somewhat again...
And the heap of stones.. I dont want to throw them away but have no clue what to do with them.. when you go out and buy stone its mighty expensive.
my mini castle!
Still waiting for the concrete to dry, so moved onwards to clearing the floorspace under where the boiler platform will be so the roofbeams can be worked on and looked at.
This is what is there now roughly...
And this is what it will end up like hopefully!
The platform will rest on the walls, and there will be no wooden beam right next to the chimney.
Wood has been ordered so hopefully at the end of next week work can start on it.
Still waiting for the concrete to cure in the posts to hold up the lintels, so decided to start work on the cold air intake for the fireplace, at first I was going to look for some clay pipe, and couldn't find any.. I then looked at metal downpipes, but they looked way to thin to be used in the ground, even if they were galvanised, plus they were quite expensive
I then looked at PVC piping (drain pipe) but I was worried about embers making their way back in there and the whole lot catching fire potentially.
Also looked at vent duct pipe, but at €9,- per meter it was redicuously expensive.
the duct needed to be resistant to high temperatures as well as fireproof, and the whole lot buried below the concrete floor and insulation so it doesn't cool down the room in the winter when its in use.
Knocked a hole through the foundations which was suprisingly easy as the concrete was rather brittle.
And the outside.
So I ended up buying cheap flexi aluminium pipe, a can of expanding foam
and a more expensive flexi aluminium pipe for the fireplace side, and thought that I might as well make it out of brick as I have heaps of old bricks, cement, lime and sand.. you can see the general idea here.
Dug the trench down and slightly wider so it would all fit.
carried back in the bricks again.. after having carried them outside a month ago..
taking shape, mortar bed, brick with mortar joints, then side on bricks as sides jointed in mortar and a mortar bed ontop of the bricks levelled out to hopefully keep it all together as much as possible.
And the capping bricks on the top, making a nice little channel inside, approx 15x15cm.
And the end at the fireplace, this will have the second flexi aluminium pipe coming upwards to connect to the fireplace, and will also be mortared in place at a later stage.
The cheap flexi pipe coming through the foundation and into the channel, glued in place with mortar.
it hardly protrudes away from the foundation so that's a good thing, means the floor can go over the top of it with no issues.
mortared up the cheap tube to make a shell around it so it wont crush in future.
And the outside, looking downwards and inside. It drops about 30cm or so through the foundation.
its flexi accordeon type tubing, and since these foundations are getting polystyrene insulation against them along with stonework fronting to look pretty, I've made it slightly longer so it can be adjusted to suit.
pushed back into the wall to stop the dog wrecking it.. also put an Ytong block infront of it to stop the dog getting to it.
And gravelled up the sides to fill in the gaps so hopefully any water or moisture can dissapate slowly through the brick itself and away, as well as it being strong enough to have the floor over the top of it later.
And the end at the chimney foundation..
And that's it for now!


God knows how you manage to fit college in, Daniel!
ReplyDeleteLooking good, though I'm glad I wasn't the one to find those elecrics in that state - proper scary, that!
"college" was finished mid Jun :)
ReplyDeleteYes, electrics was rather appalling.. was a case of *removes cover and looks* proceeded with *rapidly puts cover back in place*
Cast iron box with bare 3phase wires inside unfused except for master fuses on the transformer for the whole area... Ah well.. c'est la vie!